

The short answer
Structural drying is a planned, monitored process: inspect the property, measure the moisture, identify which materials are affected, remove standing water and anything that cannot be dried, install dehumidification and air movement matched to those materials, then take repeat readings until they are consistent with unaffected parts of the same property. Repair and redecoration follow once drying is complete.
1. Inspection
The first visit is about understanding what happened and how the building is put together. Where did the water come from, how long did it run, and has the source been stopped? What are the walls and floors made of? Where could the water have travelled that is not obvious from the damage on show?
2. Moisture assessment
Readings are taken across the affected areas and, importantly, across comparable areas that were not affected. That comparison is what makes the numbers meaningful, because it sets a target based on this property rather than a generic figure.
Technical note: readings on non-wood materials such as plaster, masonry and screed are comparative reference values used to track change; they are not the percentage of water in the material. Thermal imaging highlights temperature differences that may indicate moisture; it does not prove moisture on its own.
3. Identifying affected materials
Different materials need different treatment, so each one is considered separately — plaster, plasterboard, brick and block, timber joists and boards, chipboard, screed, concrete, insulation, floor coverings and fitted furniture.
Some will dry well in place. Some, such as saturated mineral wool insulation or soaked carpet underlay, will not, and are better removed so the structure behind them can dry.
4. Extraction where required
Any standing or trapped water is physically removed first. Extracting water is far quicker than evaporating it, and every litre removed at this stage is a litre the drying equipment does not have to deal with.
5. The drying plan
This is where the assessment turns into a practical programme: which rooms are being dried, what equipment goes where, whether any areas need opening up for access, what the occupants need to know, and how progress will be checked.
6. Equipment installation
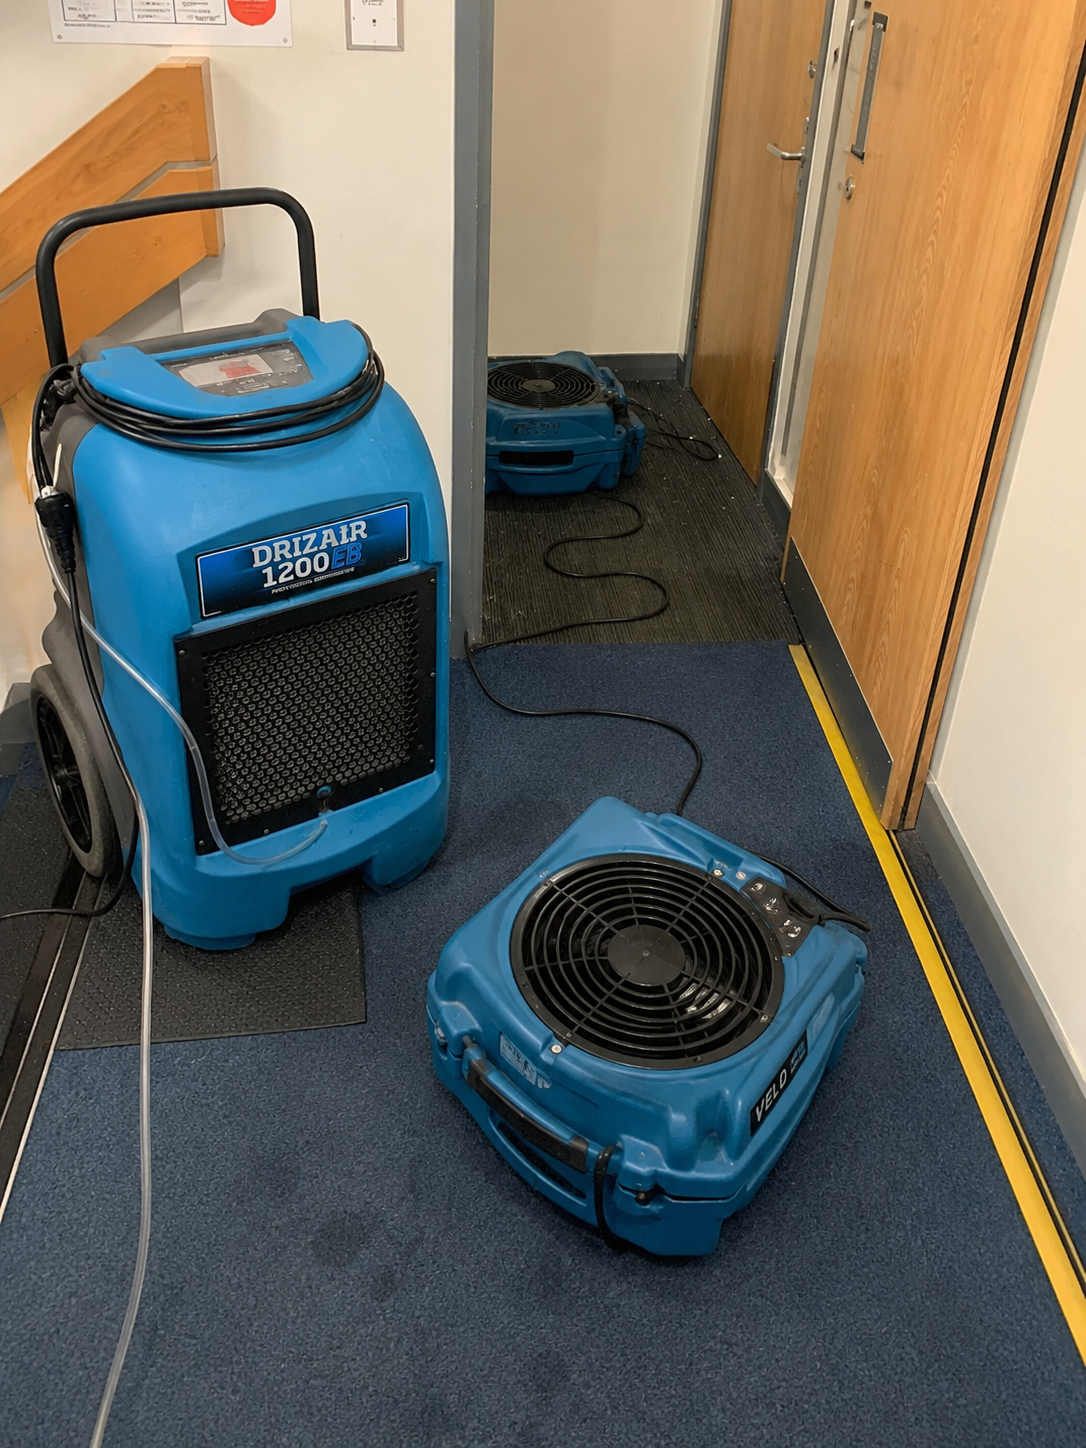
Two things are being controlled — the moisture in the air, and the movement of air across wet surfaces.
- Dehumidifiers remove water vapour from the air so wet materials keep releasing moisture into it.
- Air movers direct airflow across surfaces, breaking up the still, damp layer of air that otherwise slows evaporation right down.
- Where needed, airflow can be introduced into floor voids, wall cavities or ceiling voids so drying reaches the parts you cannot see.
Placement is deliberate. Machines are positioned for the shape of the room and the materials involved, not simply set down in the middle of the floor.
7. Controlled drying
Equipment runs continuously. Drying too aggressively can distort timber or leave the surface of plaster dry while the depth stays wet, so the aim is a steady, controlled reduction rather than the fastest possible result.
8. Monitoring and readings
Readings are repeated during the programme and recorded, so progress is a documented trend rather than an opinion. A steady fall means the plan is working. A plateau means something needs to change — usually access to a trapped area rather than simply more equipment.
Equipment is often moved, added or reduced during the programme as different areas respond at different rates.
9. Confirming drying is complete
Drying finishes when readings from the previously affected materials are consistent with comparable unaffected areas of the same property, and hold at that level. That is the point at which equipment comes out.
10. Repair and reinstatement
Once the structure is dry, plastering, flooring, joinery and decoration can go ahead with confidence. Doing this work before drying is complete is the most common cause of problems reappearing months later.
What it is like to live with
Honest answer: the equipment is audible, it uses electricity, and rooms may be partly out of use. Most people find it manageable once they know what to expect and why each machine is where it is. If anything about the setup is causing a practical problem, say so — it can usually be worked around without compromising the drying.
Common questions
How My HomeDry can help
Related guides
- How long does a house take to dry after a leak?Why there is no single answer, what actually changes the timescale, and why 'it feels dry' is not the same as dry.
- Should you use a dehumidifier after a leak?What a dehumidifier really does, when it helps, and why putting one in the middle of a room is rarely enough on its own.
- How can you tell if a wall is still wet?The visible signs worth noticing, what they do and do not prove, and why appearance alone is an unreliable test.
This guide provides general property water-damage information from My HomeDry. Individual circumstances differ, and it is not financial, legal or insurance advice. Where an insurance claim is involved, decisions on liability, policy coverage and settlement rest with the insurer under the terms of the individual policy.