

The short answer
There is no universal drying time. A small, quickly-contained leak affecting only surface plaster may dry in days, while water that has reached subfloors, insulation, screed or thick masonry can take considerably longer. The only reliable way to know is to take moisture readings over time and watch them fall to a level consistent with unaffected areas of the same property.
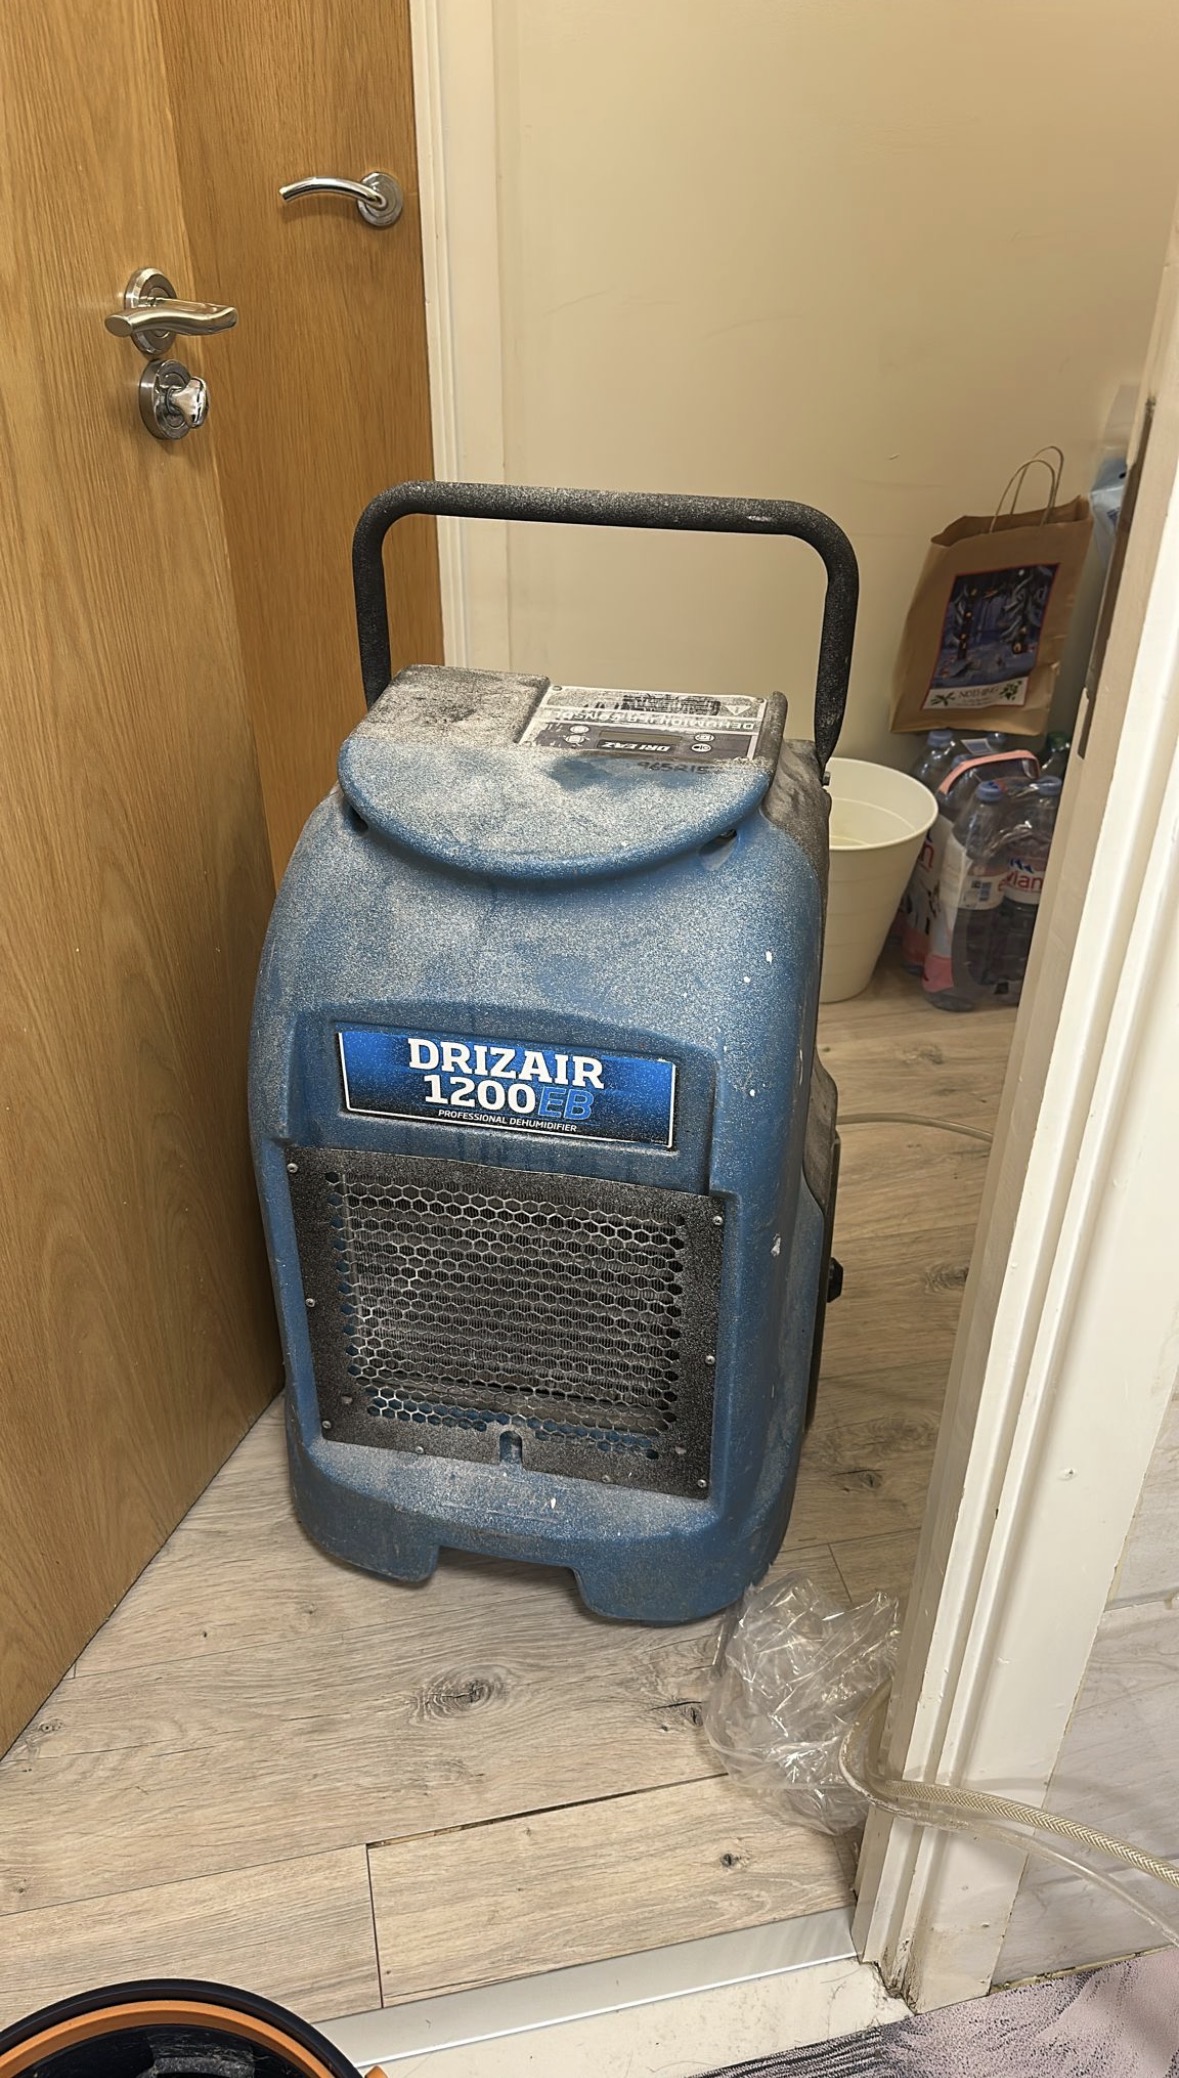
Why nobody can give you a fixed number on day one
Drying is not a countdown; it is a process of removing moisture from materials at whatever rate those materials will release it. Until someone has measured how wet the structure actually is and what it is made of, any timescale is a guess.
Anyone who promises an exact number of days before assessing the property is telling you what you want to hear rather than what they know. A realistic answer comes after the first set of readings, and it gets more accurate as monitoring continues.
What genuinely affects the timescale
- How much water escaped — a slow drip over weeks can soak more material than a dramatic short burst
- How long the leak ran before it was found, particularly with concealed pipework
- Wall construction — solid masonry, cavity walls, lath and plaster and plasterboard all behave differently
- Floor construction — suspended timber, chipboard, concrete and sand-cement screed all hold and release water at very different rates
- Insulation, which can hold a lot of water and sits where air cannot easily reach it
- Timber elements such as joists, studwork and floorboards, which release moisture slowly
- Ventilation and how sealed the affected space is
- Temperature and humidity, both inside and outside the property
- Whether standing water was extracted early or left to soak in
- Whether affected materials were opened up to allow drying, or left closed
Moisture that is out of sight takes longest
The parts of a property that dry slowest are usually the parts you cannot see: beneath floor coverings, inside floor voids, within wall cavities, above ceilings and inside insulation. Air does not circulate freely in those places, so moisture simply sits there.
Screed and thick concrete are a good example. They can look completely normal on the surface while still holding significant moisture within the slab, which then works its way back up if new flooring is laid too soon.
Why 'it feels dry' is not the same as dry
Surfaces dry first. A plastered wall can feel perfectly dry to the hand while the plaster behind it, the masonry behind that, and the floor at the base of it are all still holding water. Touch tells you about the outer few millimetres and nothing about the rest.
This matters because decorating, laying flooring or refitting a kitchen over a structure that is still wet tends to end with blown plaster, lifting floors, staining or persistent damp smells a few months later.
How drying progress is actually measured
Professional drying is monitored rather than assumed. Readings are taken from the affected materials and compared against equivalent unaffected areas of the same building, so the target reflects that specific property rather than a generic figure.
Readings are repeated over the course of the drying programme. A downward trend shows the equipment is working; a flat trend usually means something is still feeding moisture in, or that a material needs opening up before it will release water.
Technical note: comparative readings on non-wood materials such as plaster, masonry and screed are reference values used to track change over time. They are not a percentage of water contained in the material.
What a realistic drying programme looks like
- 1Assessment. Establish which materials are wet and how far the moisture has spread.
- 2Equipment installed. Dehumidification and air movement matched to the rooms and materials involved.
- 3Monitoring. Repeat readings during the programme to show whether the structure is responding.
- 4Adjustment. Move, add or reduce equipment as areas respond at different rates.
- 5Completion. Equipment removed once readings are consistent with unaffected parts of the property.
What not to do
- Do not lay new flooring or replaster until readings support it.
- Do not turn drying equipment off overnight — it interrupts the programme and extends it.
- Do not judge progress by smell or touch alone.
- Do not assume a warm, sunny week has dried the structure out.
Common questions
How My HomeDry can help
Related guides
- What actually happens during structural drying?The full process explained step by step — inspection, assessment, extraction, equipment, monitoring and completion.
- How can you tell if a wall is still wet?The visible signs worth noticing, what they do and do not prove, and why appearance alone is an unreliable test.
- Should you use a dehumidifier after a leak?What a dehumidifier really does, when it helps, and why putting one in the middle of a room is rarely enough on its own.
This guide provides general property water-damage information from My HomeDry. Individual circumstances differ, and it is not financial, legal or insurance advice. Where an insurance claim is involved, decisions on liability, policy coverage and settlement rest with the insurer under the terms of the individual policy.